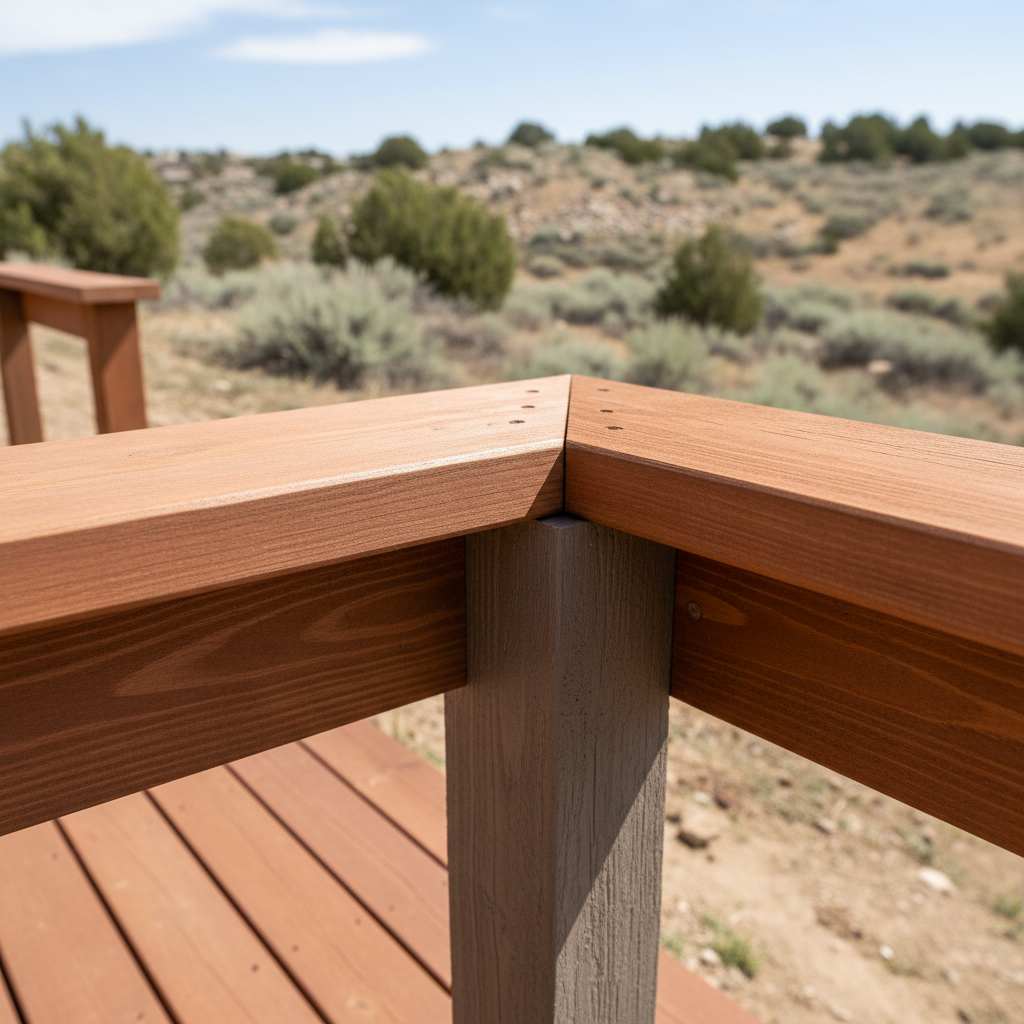
Before You Start: Planning Your Deck Railing Project
So, you're eyeing your deck and thinking it's time for some new railings, right? Or maybe you're building a brand new one and trying to sort out the whole railing situation. It's a huge part of your deck, not just for looks, but for safety too. Before you even think about cutting a single board or screwing in a post, you've got to do a little homework.
First things first: know your local codes. Here in Kaysville, just like most places, there are specific rules about how tall railings need to be, how far apart balusters can sit, and how strong those posts really have to be. Generally, for residential decks, you're looking at a minimum of 36 inches high, and balusters can't have a gap wider than 4 inches. But don't just trust me on this; check with the city's building department. You definitely don't want to build something only to have to tear it all down because it didn't pass inspection.
Next, give some thought to your style and the material you want. Are you leaning towards classic wood? Low-maintenance composite? Maybe sleek aluminum or glass panels? Each one comes with its own installation quirks and price tag. Wood is traditional, sure, but you'll be cutting and fastening a lot. Composite and aluminum kits often make assembly easier, though they can cost more upfront. Glass looks fantastic, but man, cleaning it can be a real chore, especially with all the dust we get blowing in from the west bench.
Finally, measure, measure, measure. Seriously, measure everything twice, then measure it again. How long are your deck sections? How many corners do you have? Are there stairs? Each of these details affects how much material you'll need and how tricky the install will be.
During Installation: What You Can Realistically DIY
Okay, you've got your plan, your materials, and maybe a few extra screws just in case (always a smart move). Now for the fun part: putting it all together.
For many homeowners, putting in basic wood or simple composite railings is totally doable. If you're comfortable with a saw, a drill, and a level, you can probably handle the basics. Here’s what that usually looks like:
- Post Installation: This is super important. Your posts are the backbone of your entire railing system. They need to be plumb (perfectly vertical) and rock-solid. If you're attaching them to the deck frame, you'll likely use carriage bolts or specialized post anchors. If you're surface mounting, just make sure the deck framing underneath can really handle the load. A wobbly post means a wobbly railing, and that's a safety hazard, plain and simple.
- Rail Installation: Once your posts are securely in place, you'll attach your top and bottom rails. For wood, this often means cutting boards to length and screwing them between posts. With composite or aluminum kits, you'll typically find pre-cut rails that just slot into brackets.
- Baluster/Infill Installation: This is usually the most repetitive part of the job. Whether you're screwing in individual balusters, sliding in composite pickets, or installing glass panels, take your time to keep the spacing consistent. A simple spacer block can save you a ton of headaches here, believe me.
Now, when should you call in a pro? If your deck has an unusual shape, complex stair runs, or if you're dealing with something like custom welded steel or intricate cable railing systems, that's when I'd say it's time to pick up the phone. These systems often demand specialized tools, super precise measurements, and real experience to get right. Also, if you're not totally confident you can make those posts absolutely secure, don't risk it. A railing isn't just decoration; it's there to keep people safe. If you're feeling overwhelmed, or if drilling into your deck makes you nervous, well, that's what we at Progressive Deck Co. are here for.
After It's Done: The Finishing Touches and Checks
You did it! Your new railings are up. But you're not quite finished yet. Take a step back and admire your handiwork, then get ready for a few final steps.
First, give everything a good once-over. Walk around the entire deck and literally try to shake each post and section of railing. Does anything feel loose? If so, fix it right away. Tighten screws, add more fasteners if you need them. It's much better to find a weak spot now than when someone leans on it, isn't it?
If you installed wood railings, you'll definitely want to seal or stain them. This protects them from our crazy Utah weather. Those hot summers and snowy winters can really do a number on untreated wood. Pick a good quality stain that offers UV protection and water resistance, and follow the manufacturer's instructions for applying it.
For composite, aluminum, or glass railings, cleaning is usually all you'll need to do. A little soap and water will keep them looking sharp. Just make sure to check any hardware (screws, brackets) periodically to make sure they haven't loosened up over time.
Finally, enjoy your deck! You put in the work, and now you've got a safe, beautiful outdoor space to relax on. Whether you tackled it all yourself or brought in a little help, a well-built railing system truly makes a huge difference.